

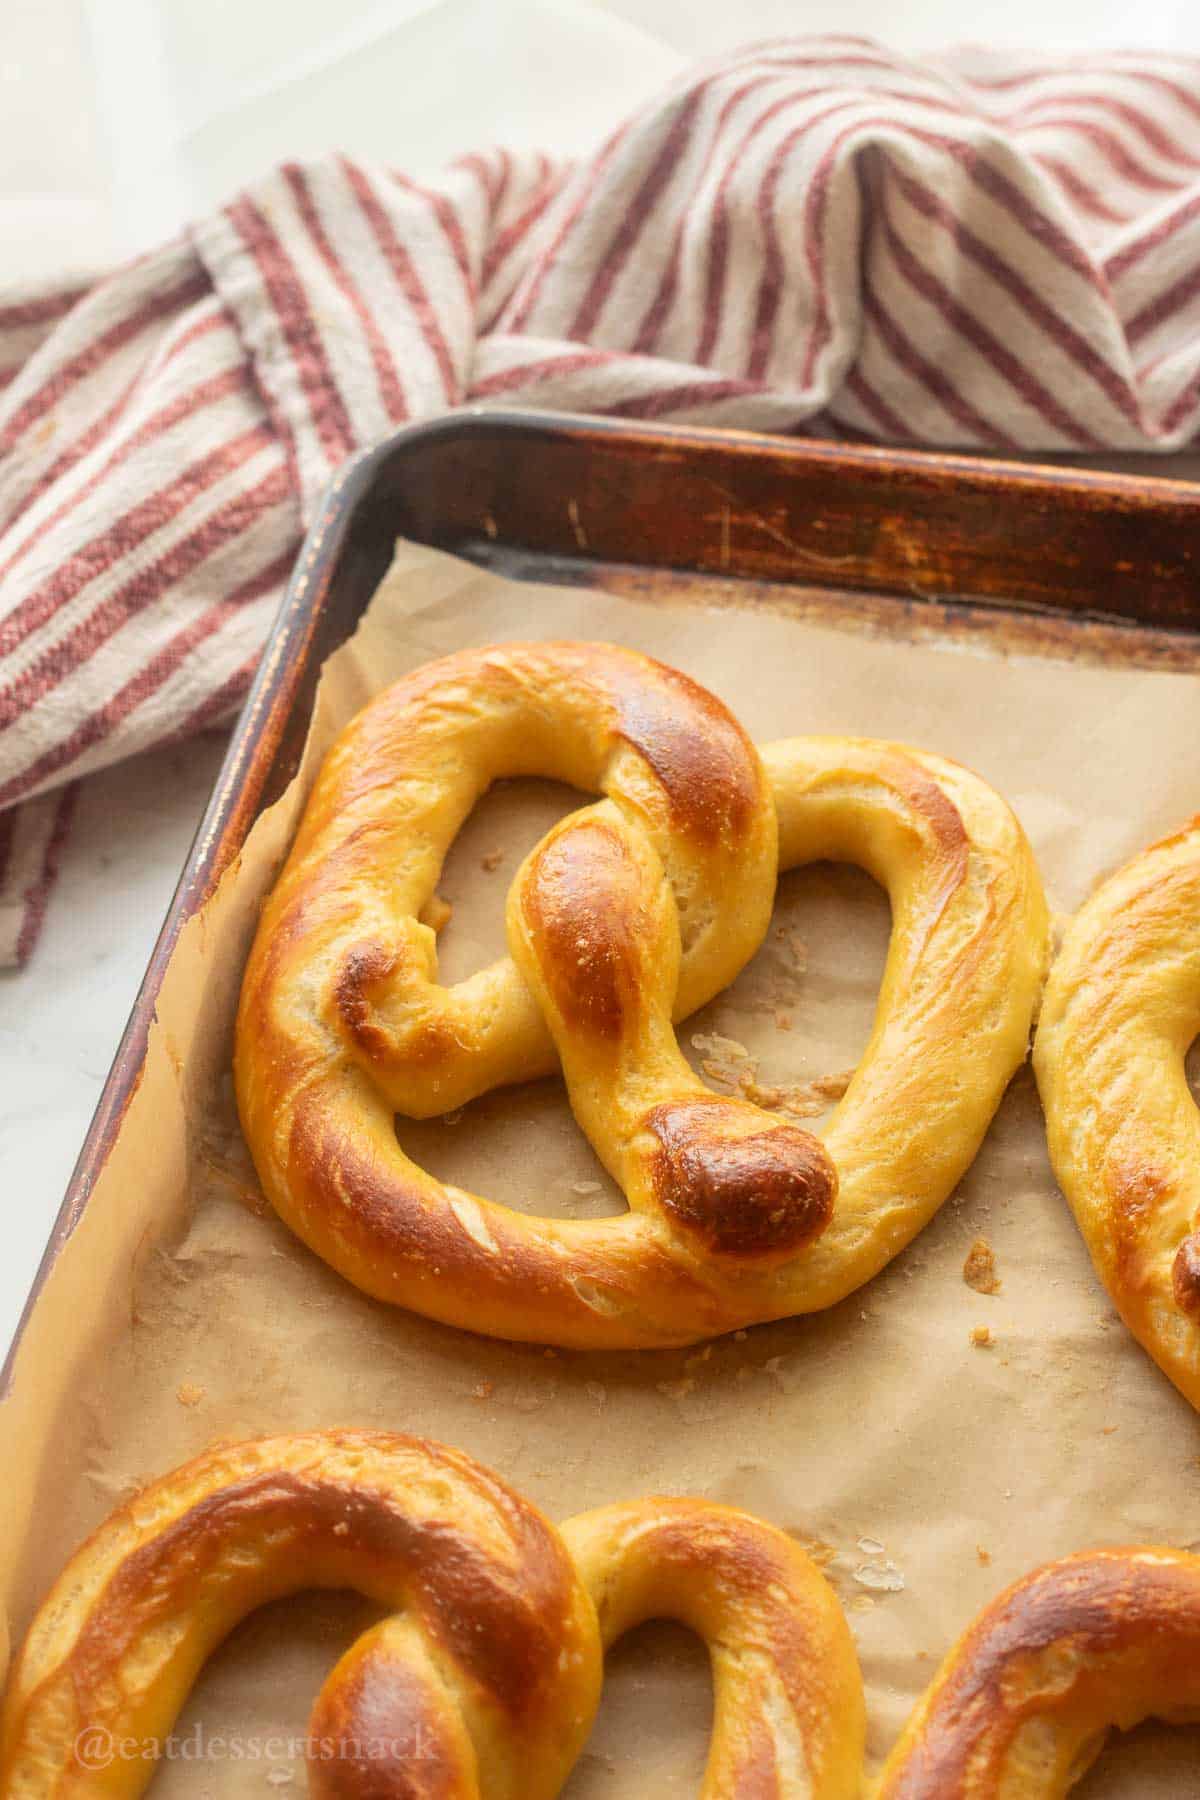
Homemade Soft Amish Pretzels are warm, buttery, and fresh from the oven in under 2 hours! Traditional methods, simple ingredients, no fancy equipment.
We had the pleasure of eating many Amish pretzels when we lived near an Amish community in Indiana! They're lovely, soft, and simply made. This recipe has made hundreds of pretzels for weddings and family get togethers and is tried and true.
This homemade soft pretzel recipe uses a similar dough to my cheesy pretzel sticks, just a different shape and not stuffed. Both are great with a homemade pizza dipping sauce or a higher protein ranch dip.
Usually pretzels are the best freshly made, eaten the day they are baked but I wanted a make ahead soft pretzel recipe that could be frozen and reheated.
This recipe does NOT use lye, as I've found that although it makes delicious pretzels, isn't my favorite to work with (it's a pretty strong chemical) and I don't use a lot of it so it isn't worth buying just for pretzels to me.
Jump to:
Why You'll Love This Recipe
- Taste: Soft, savory, and chewy, just like mall pretzels. You can make them with butter and cinnamon sugar on top, or pretzel salt or another pretzel topping.
- Ease: Only one rise, then you can give them a little bath and into the oven they go! Plus, I'll show you EXACTLY how to shape the pretzel step-by-step.
- Time: 10 minutes to mix up the dough, 1ish hour rise (I often do less and they're fine) and 10-15 minutes to water bath and bake.
📝 Ingredient Notes

- Baking soda - this is what helps the pretzels to develop the chewy golden brown "pretzel" skin on the outside, while staying nice and soft on the inside.
- Salt - this is the secret to good pretzels. You absolutely need salt in the dough for them to taste good, on top is optional, but also good.
- Brown Sugar - used in many Amish bread recipes, it gives the pretzels just a little more flavor than regular white sugar.
See the recipe card below for full information on ingredients and quantities.
✏️ Substitutions & Variations
- The brown sugar can be substituted for white sugar or honey easily. It's just used as an activator for the yeast.
- I use dairy milk typically, but you can use your favorite unsweetened plant based milk or water too.
🧑🍳 Instructions

- Step 1. To a large measuring cup, add the warm milk (or water), brown sugar, and yeast and stir together. Let it 5 minutes until it foams. In this case it's milk that's about 110 ℉. Temperature matters! Too hot and it can kill the yeast, too cold and it takes forever to activate. 100-110℉ is the sweet spot.
- Step 2. Add in the oil, salt, and flour and mix until a dough forms, then knead for 5-7 minutes, until smooth and elastic. Dough should be on the firm side and not super sticky. If it's too wet, it's hard to roll out the pretzels and they won't hold their shape well!
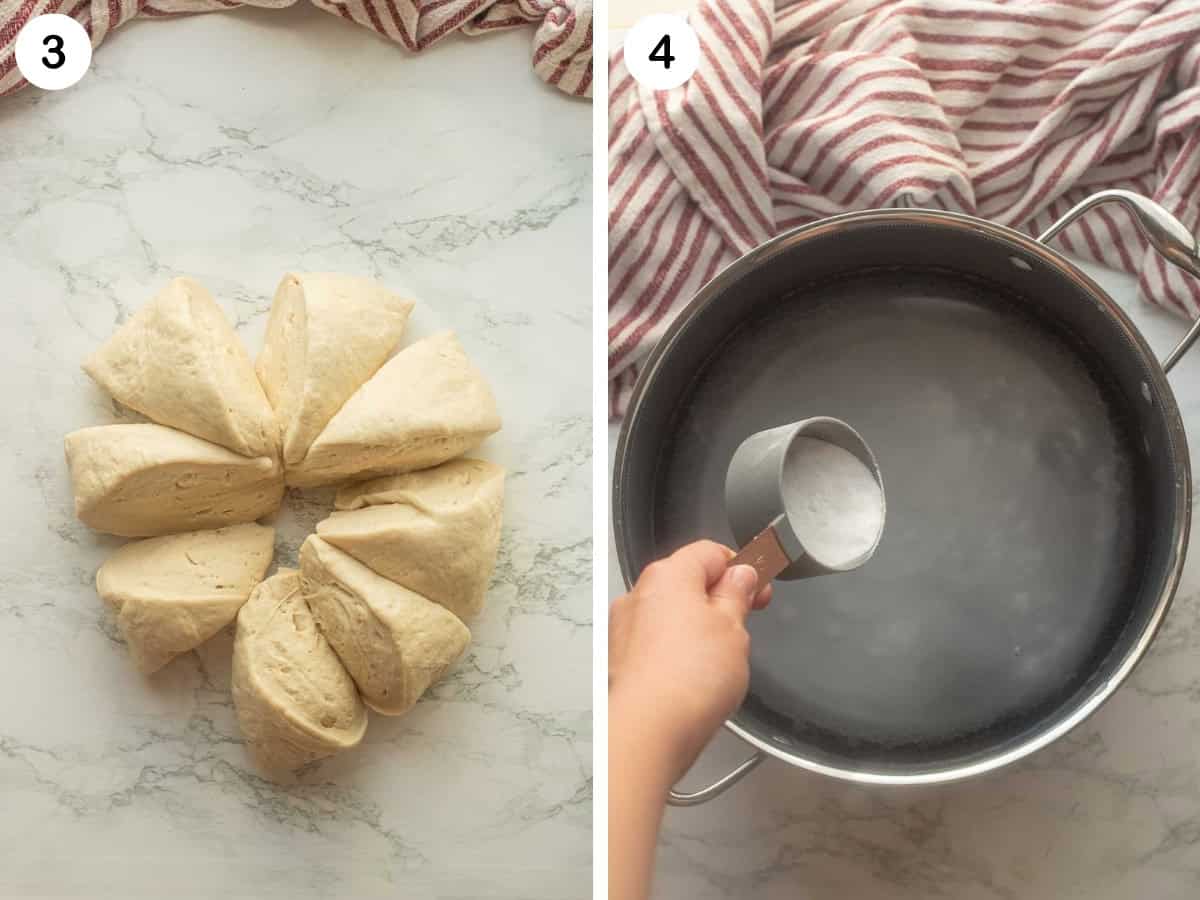
- Step 3. Let rise one hour, then cut into 8-10 equal portions.
- Step 4. Add the baking soda to the pot of water while the water is cold; baking soda added to boiling water can make it boil over. Ask me how I know. Heat the water to a low boil.
TIP: The more you handle the dough, the tougher it gets and it's harder to roll out, so try not to play around with it too much and keep the majority of it covered while rolling out the pretzels so it doesn't dry out.

- Step 5. Roll the dough out into a long rope, about 20-24 inches. Then form into a "U" shape.
- Step 6. Cross the 2 strands into an "X" shape near the top, then cross them again.

- Step 7. Pull the "legs" from the top to the bottom and press them into the bottom edges of the pretzel firmly.
- Step 8. Place each pretzel one at a time into the simmering water for 30-45 seconds, then remove with a slotted spatula or two if it's easier. If the water boils hard it can break apart the dough, so make sure to keep it at a a simmer.
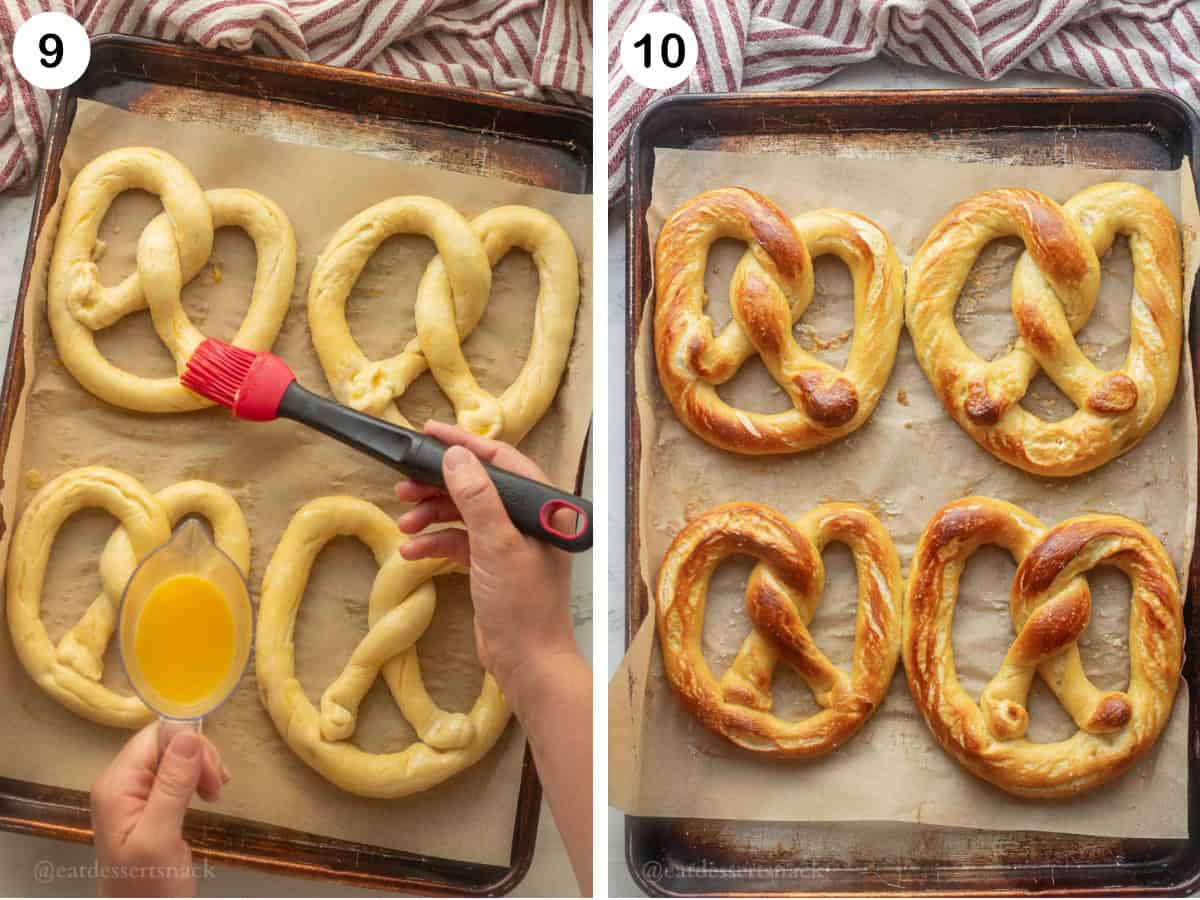
- Step 9. Place on a baking tray and brush each pretzel with beaten egg on top before baking for 8-10 minutes. (6 smaller pretzels on a tray is 8 minutes, 4 larger pretzels is 10-11 minutes.)
- Step 10. Brush each pretzel with melted butter and sprinkle desired toppings. We love pretzel salt, cinnamon sugar, or even a little dry ranch powder.
📌 Troubleshooting
- Why are my pretzels tough? - could be dry stiff dough or not proofed enough, or not baked enough.
- Why didn't they get brown? The egg wash/baking soda bath helps with this!
❄️ Make Ahead, Store, and Freezing Tips
Make ahead and bake, then cool and freeze for up to 3 months in a freezer safe container!
Reheat in the oven or air fryer at 325 ℉ for 5 minutes or until warmed through. Don't overbake or they'll get hard and dried out!
Microwave (from frozen): Start at 60 seconds and go from there depending on the size of the pretzel.

❓Frequently Asked Questions
No, the baking soda bath helps to form the pretzel skin on the outside before baking! Otherwise you're just making a pretzel shaped breadstick.
A couple of reasons. The dough wasn't kneaded enough, causing the dough to become cakey, or they're overbaked, drying them out.
Yes! I've made it ahead and frozen the dough, or refrigerated it overnight once I cut it into individual pieces.
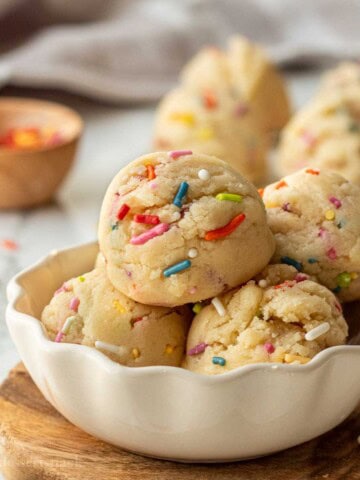
More Awesom Snack Recipes


Did You Try This Recipe? ⭐️⭐️⭐️⭐️⭐️ Make sure to leave a star rating and a comment below the recipe card. I love hearing from you, and it is so helpful to other readers! Better yet, share it with family and friends. Thank you!!
📝 Printable Recipe

Soft Baked Amish Pretzels
Ingredients
- 1½ cups warm milk can use 1%, 2%, or whole
- 1 Tablespoon brown sugar
- 1 Tablespoon active dry yeast
- 2 teaspoons salt
- ¼ cup vegetable or olive oil
- 4½ to 5 cups all purpose flour
- 10 cups water
- ½ cup baking soda
- 1 teaspoon salt
- 1 egg, beaten for brushing onto pretzels
Instructions
- In a large measuring cup, combine warm milk and brown sugar and mix well. Add yeast and let sit for 5 minutes, until foamy.1½ cups warm milk, 1 Tablespoon brown sugar, 1 Tablespoon active dry yeast
- Meanwhile, in a large mixing bowl combine salt, oil, and 4-½ cups flour. Once the milk and yeast have proofed for 5 minutes, pour into flour mixture.2 teaspoons salt, ¼ cup vegetable or olive oil, 4½ to 5 cups all purpose flour
- Knead (or mix) for 5 to 7 minutes, until dough becomes smooth. Dough should not be sticky and should pull away from the sides of the bowl easily. See Note 1.
- Place dough in oiled bowl and cover with plastic wrap for 45 minutes, or until dough has doubled in size. While dough is rising, prepare 2-3 baking sheets with parchment paper, prepare the baking soda bath by combining water, baking soda, and salt in a large pot and bring to a slow boil, and preheat the oven to 450 degrees F.10 cups water, 1 teaspoon salt, ½ cup baking soda
- When dough is ready, use a ⅓ cup measuring cup to divide dough into 8-10 equal pieces. See Note 2.
- Roll pieces into a 24 inch rope. Form into a U shape, then twist the ends over each other twice. Pull the "legs" down and press them to the bottom edges of the pretzel to make the classic three hole shape. Sometimes a dab of water on the ends helps them stick together better.
- Gently lower the pretzels one by one into the baking soda bath and boil for 30-45 seconds. Lift them out with a flat slotted spatula and place on the parchment paper prepared baking sheets.
- Brush with beaten egg, and bake for 8 minutes (no longer than 10) at 450℉ until golden brown. Optional: Brush with butter and sprinkle with pretzel salt before serving.1 egg, beaten for brushing onto pretzels
Notes
Nutrition

Hi, I'm Sara!
Registered Nurse by day, food blogger by weekend. Perfect dip tester & snack quester. I love short walks on the beach and long naps. Sharing my love for food, one bite at a time.

Steph says
Easy directions, fun process. Absolutely delicious
Rosa says
I've made this recipe a few times and love it. They always turn out perfect and we gobble them up. I have to make a double batch so they last longer than 2 seconds