

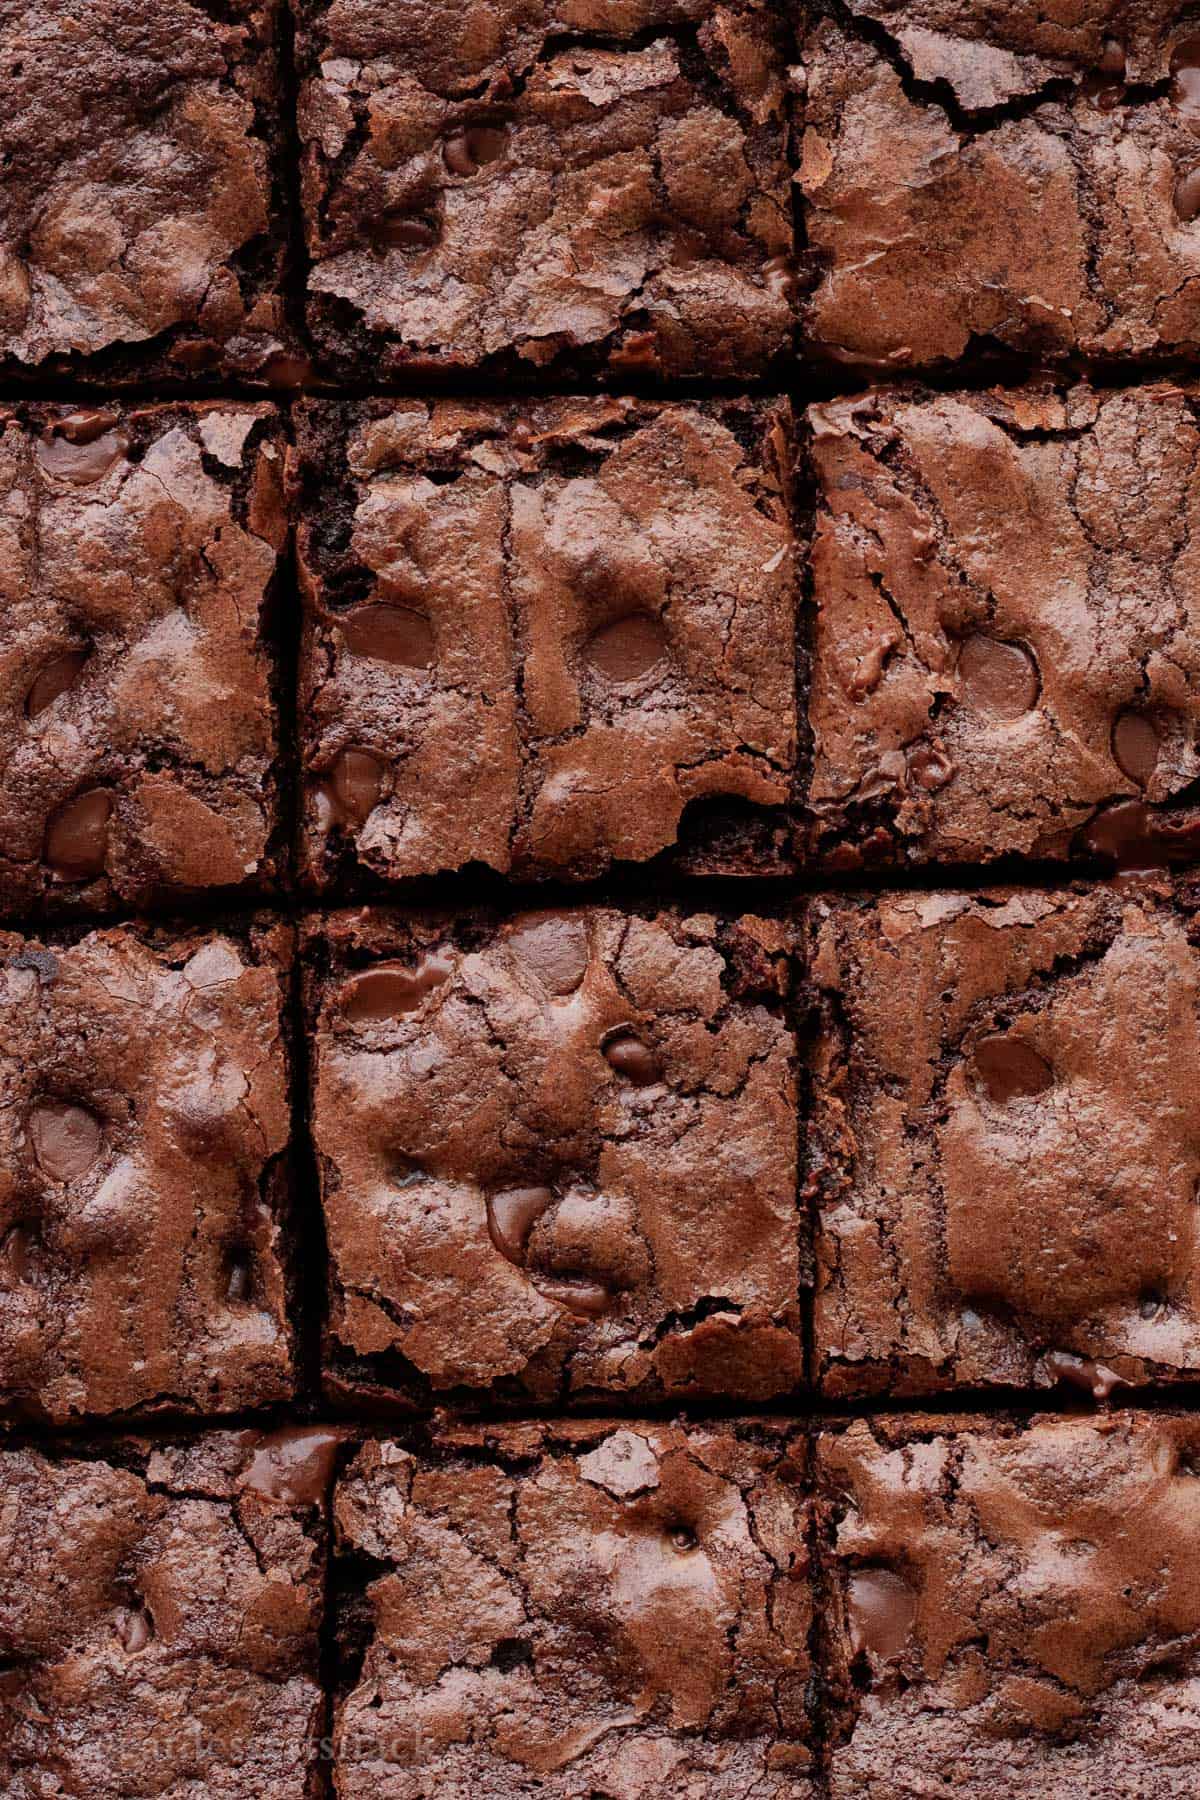
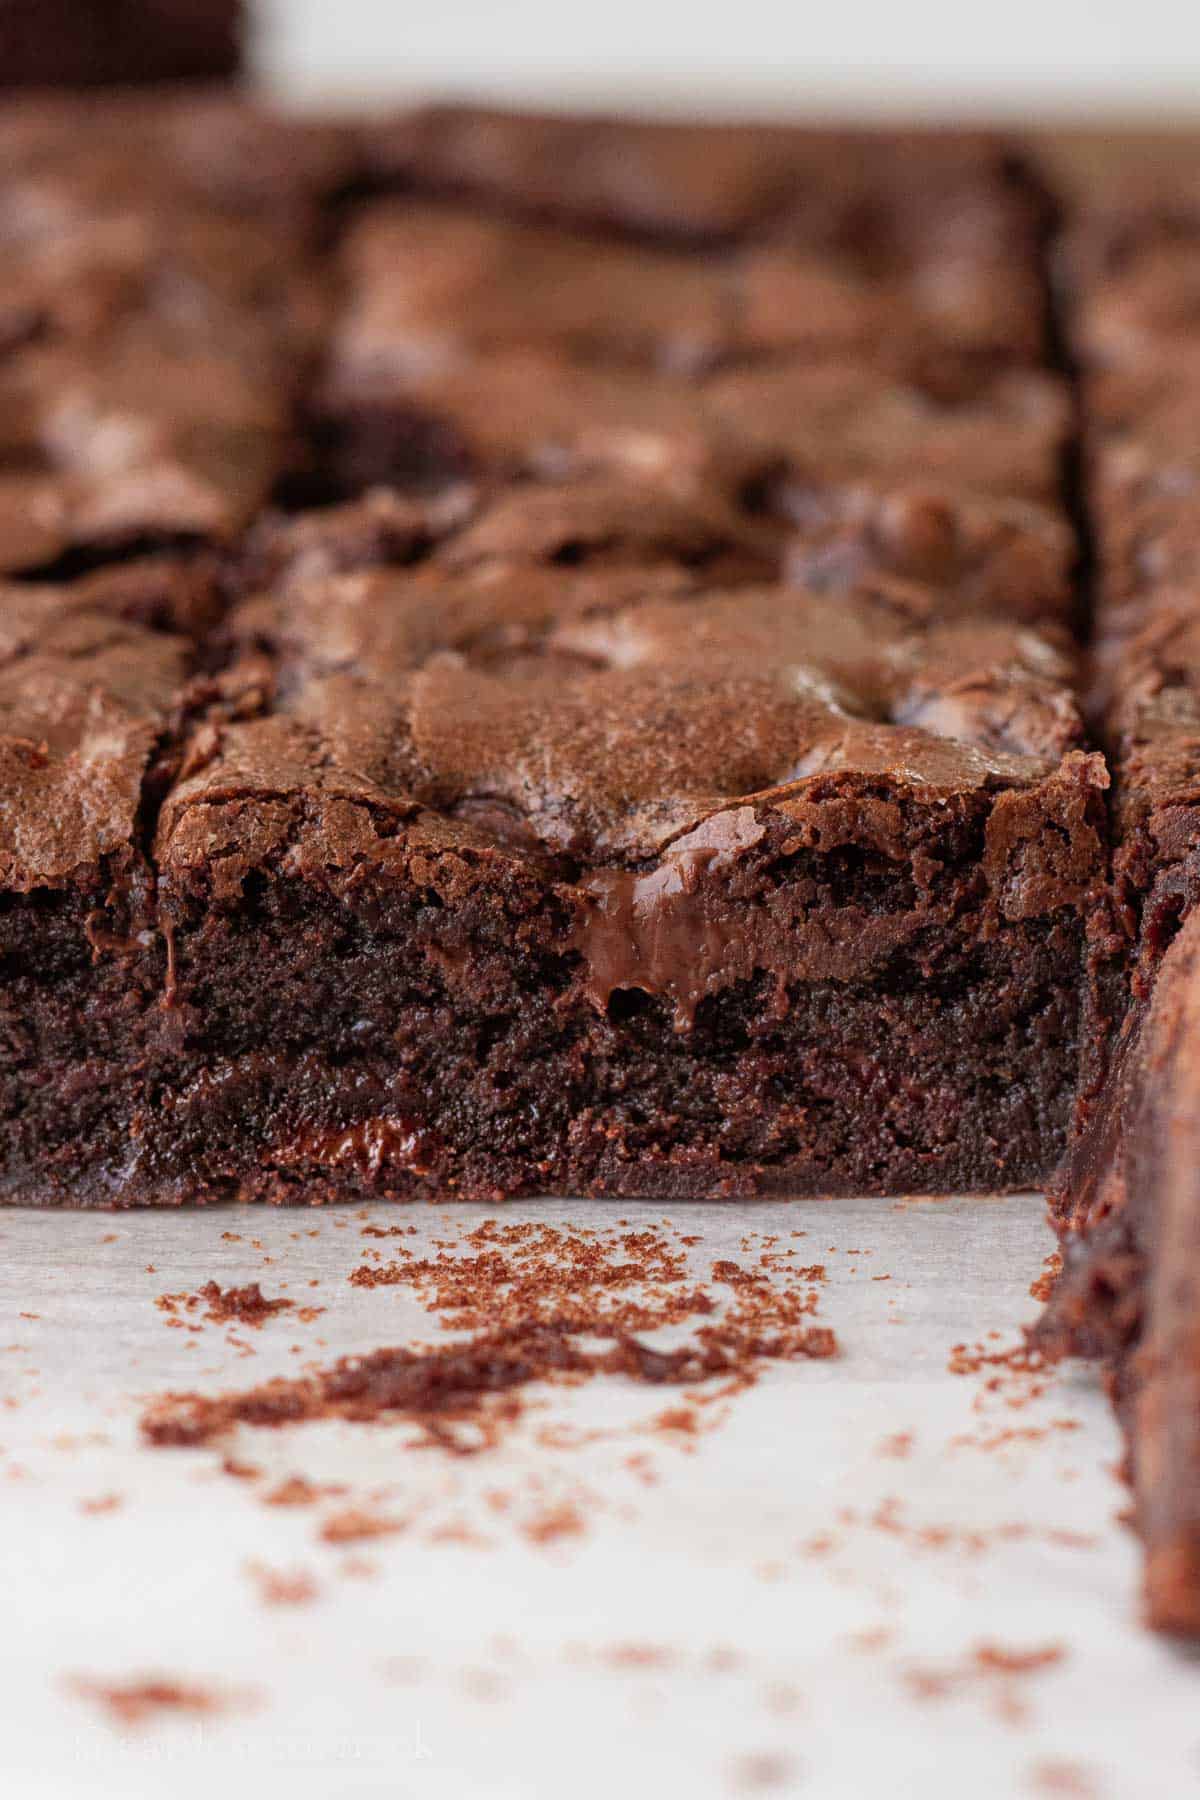
Sourdough discard brownies are soft and fudgy, and take 35 minutes to bake! Uses ½ cup unfed sourdough discard and are super easy.
Discard brownies are a simpler version of brownie than Cherry Cheesecake Brownies or Cheesecake Brownie Bars. All you need for these babies are basic pantry ingredients and some sourdough discard. And OF COURSE, chocolate chips!
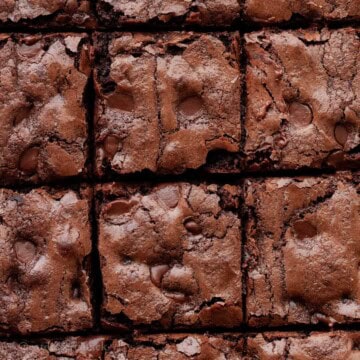
These are sourdough discard brownies with cocoa powder, and they're RICH (as all good brownies are). Testing this recipe was so much fun. I discovered that brown sugar can add too much moisture to the batter, especially with the addition of sourdough discard, so I used all white sugar, which makes the recipe simpler AND ensures the crackly top on the brownies.
I adjusted the measurements to use 2 whole eggs, because I don't like using just a yolk like many other recipes and wasting the whites. Especially in this economy!
Jump to:
What To Expect
- Taste: These are a little like dark chocolate brownies, NOT overly sweet, a little tangy with the discard in them, and it's SO good.
- Ease: Melting the butter and "blooming" the cocoa powder, mixing the wet ingredients, and adding the dry ingredients are all it takes before you bake. Pretty straightforward!
- Time: It takes 5-10 minutes to make the batter and 35 to bake the brownies. The hardest part is waiting for them to cool to eat them!
🛒 Key Ingredients
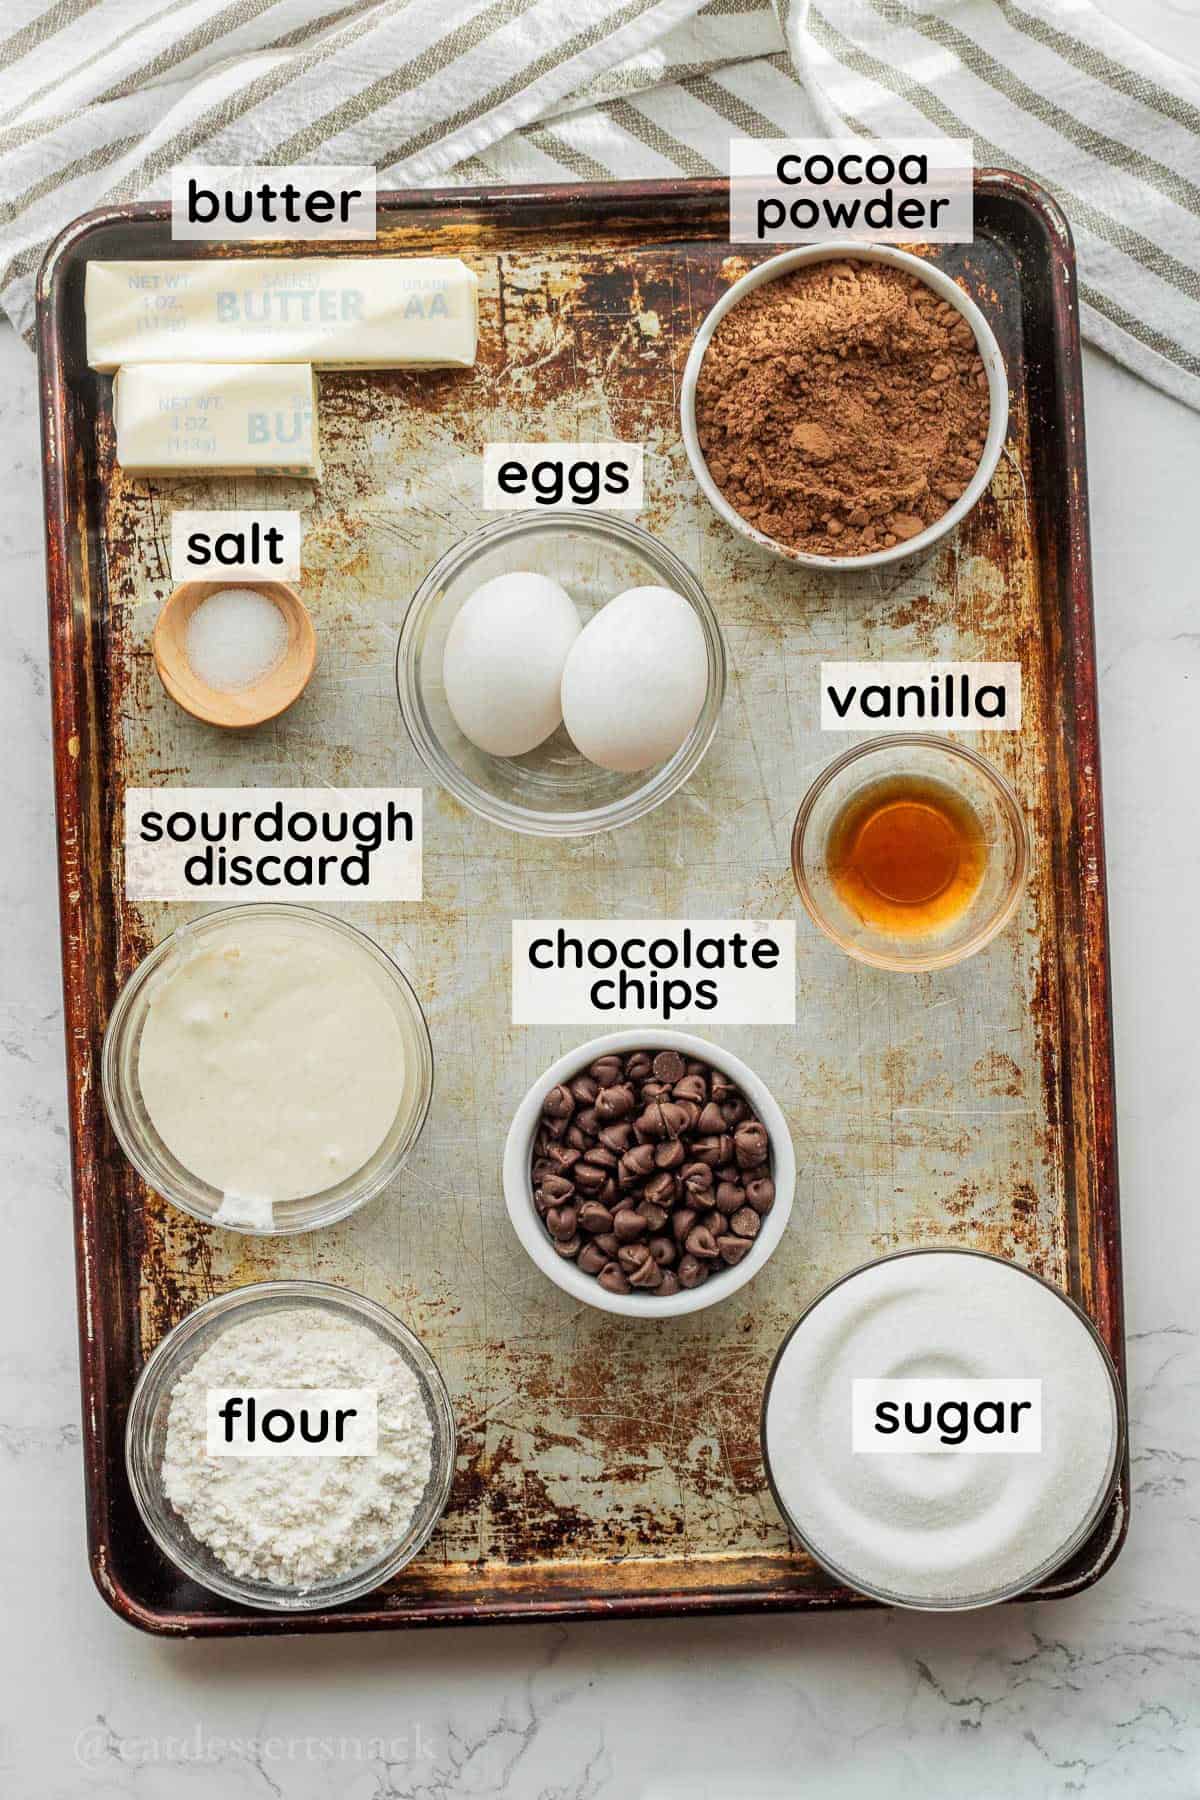
- Sourdough discard - unfed, it can be cold from the fridge or room temperature. Make sure it's stirred, and preferably weighed to get the correct amount.
- Sugar - I used only white sugar in this recipe to avoid too much moisture content, which could prevent the brownies from having the crackly top. Since there's discard in the recipe, there's extra water in the batter.
- Cocoa powder - unsweetened cocoa powder is the chocolate base, and it's "bloomed" in the melted butter to help enhance the flavor. You can use regular or dark, like in Pumpkin Cheesecake Brownies.
See the recipe card below for full information on ingredients and quantities.
✏️ Substitutions & Variations
- Sourdough discard substitution: this recipe calls for ½ cup, but you can use ¼ cup (34g) of flour and ⅓ cup (80g) water.
- Nuts! They're my favorite thing to add to brownies. Walnuts, pecans, peanuts, or almonds would be my first choices but macadamia nuts or something unique like pine nuts are also delicious.
- Favorite chocolate bars or cookies like Snickers, Oreos, Reeses, or Kit Kats would be great chopped up and mixed into the batter.
- Drizzled peanut butter, Nutella, or caramel would be amazing!
- Try different chocolate chips. White chocolate, milk chocolate, butterscotch, or peanut butter chips. Toffee or mint chips would be delicious too.
🧑🍳 Instructions

- Step 1. In a small bowl or glass measuring cup, melt butter and mix in cocoa powder to let it "bloom". Set aside.
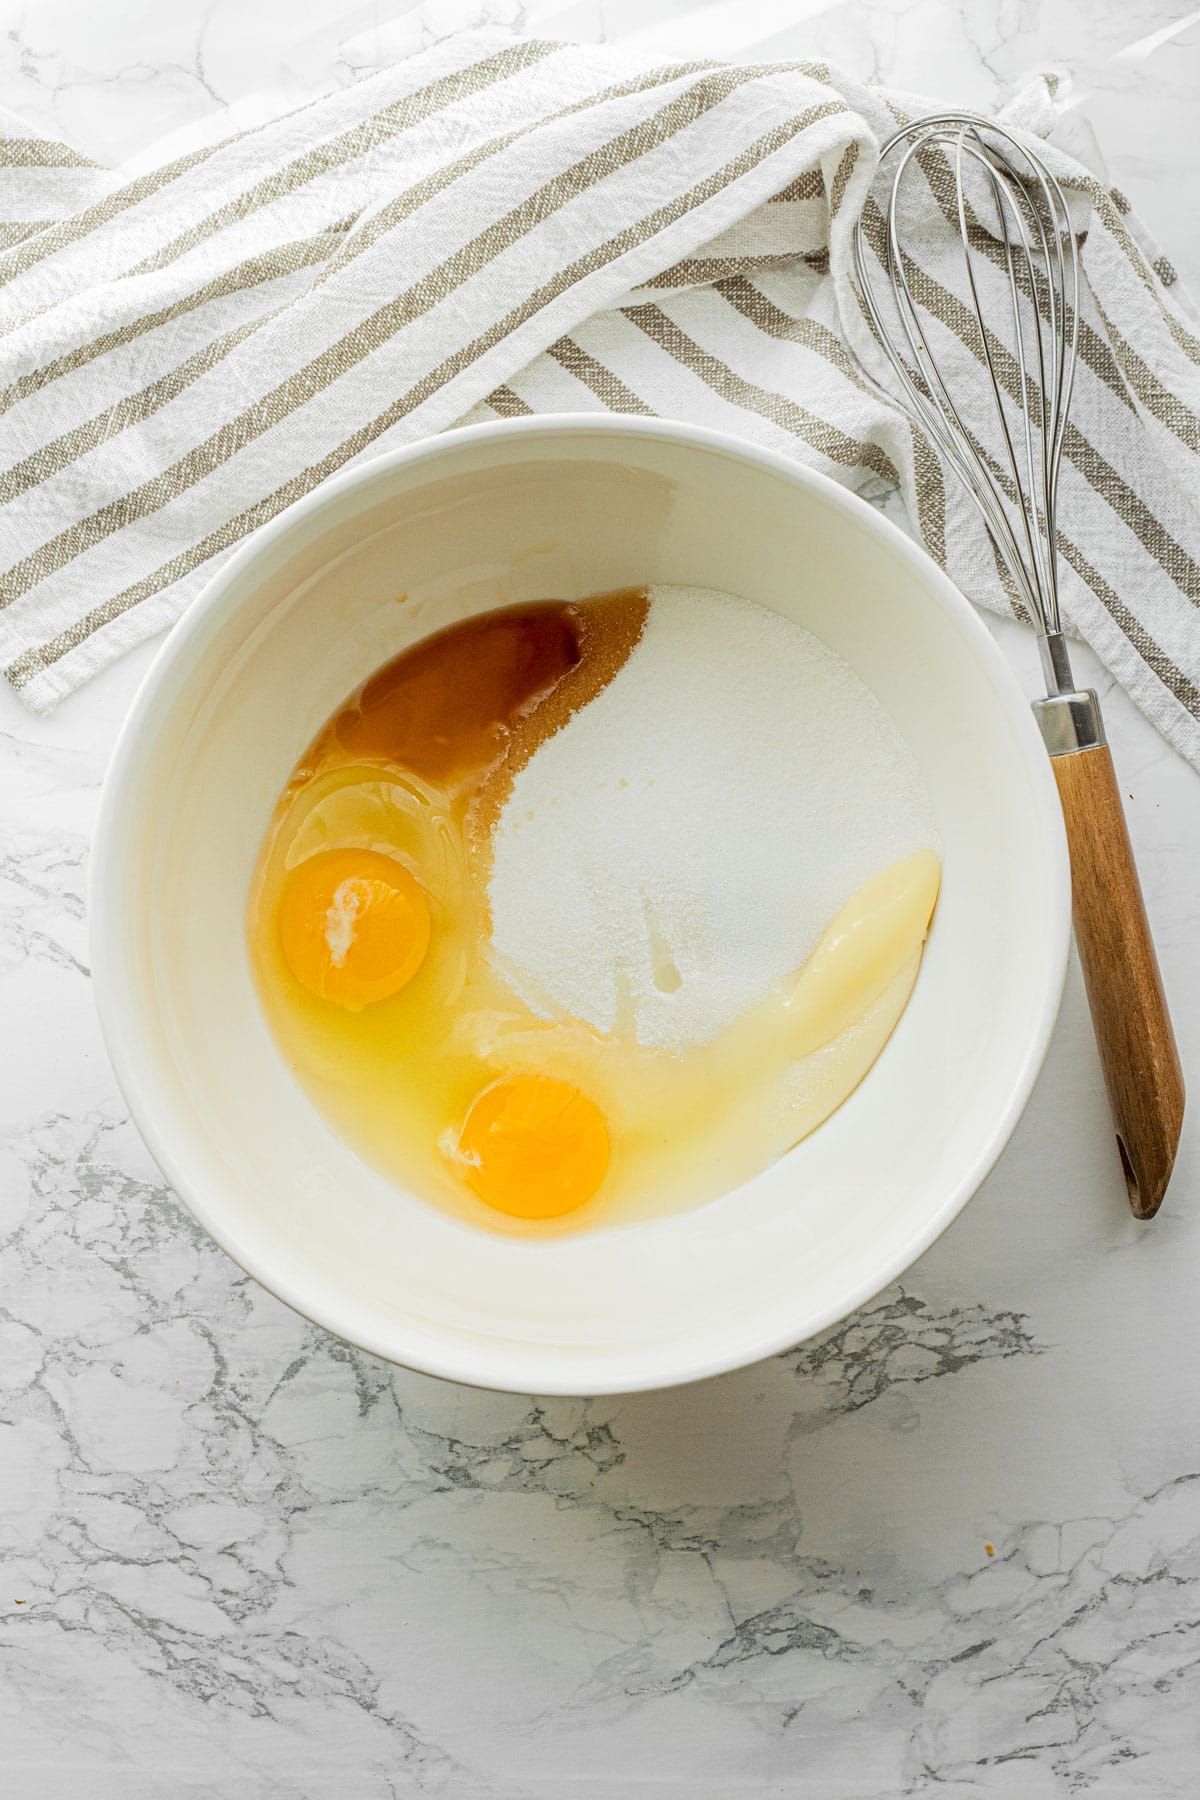
- Step 2. In a mixing bowl, combine white sugar, eggs, sourdough discard, and vanilla and mix for 2-3 minutes until the sugar is dissolving and getting fluffy. The longer you mix it, the more the sugar dissolves and helps with the crackly top when it's baked. You can whisk or use an electric mixer. If you don't have a stand mixer, a handheld electric mixer is a great alternative!
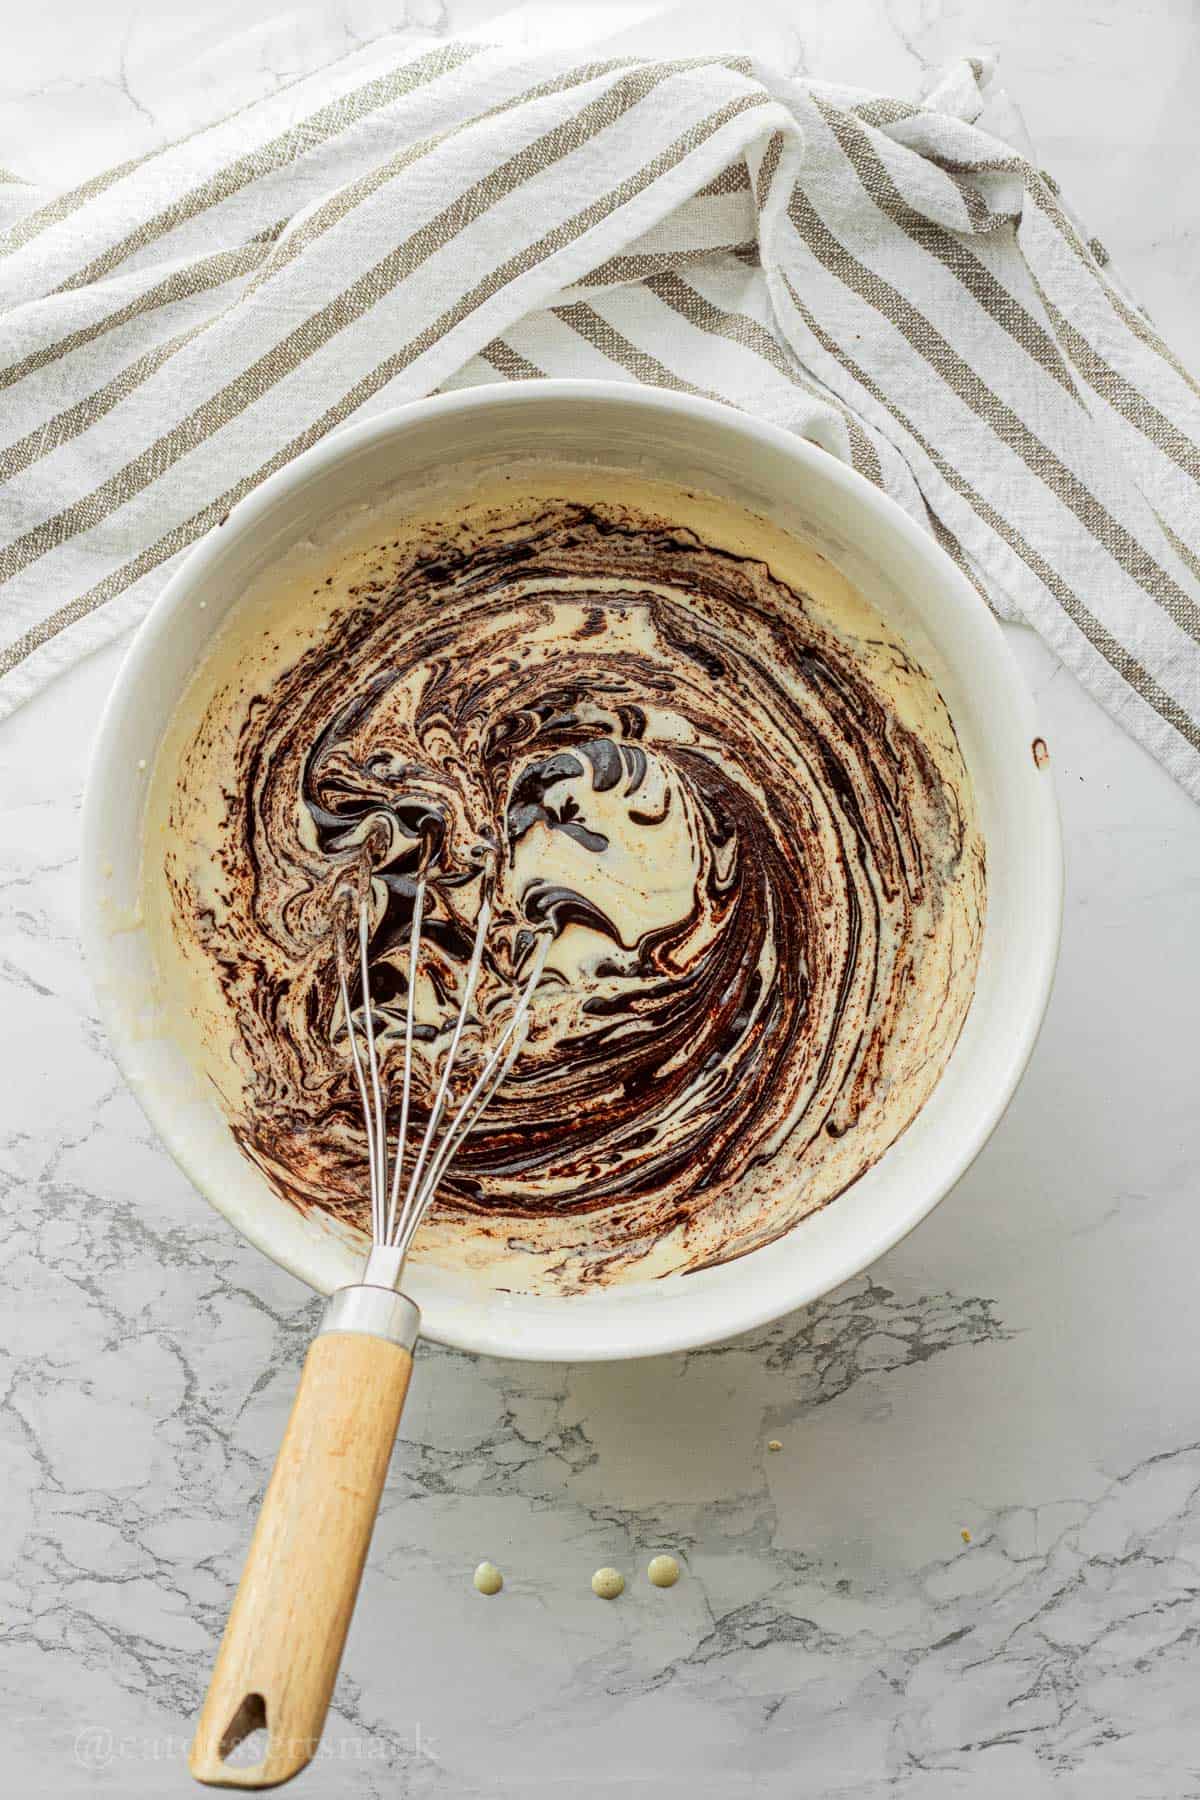
- Step 3. Add in the butter/cocoa powder mixture to the eggs, sugar, and discard and mix well.

- Step 4. Add in the flour and salt and mix well until all the flour pockets are gone.
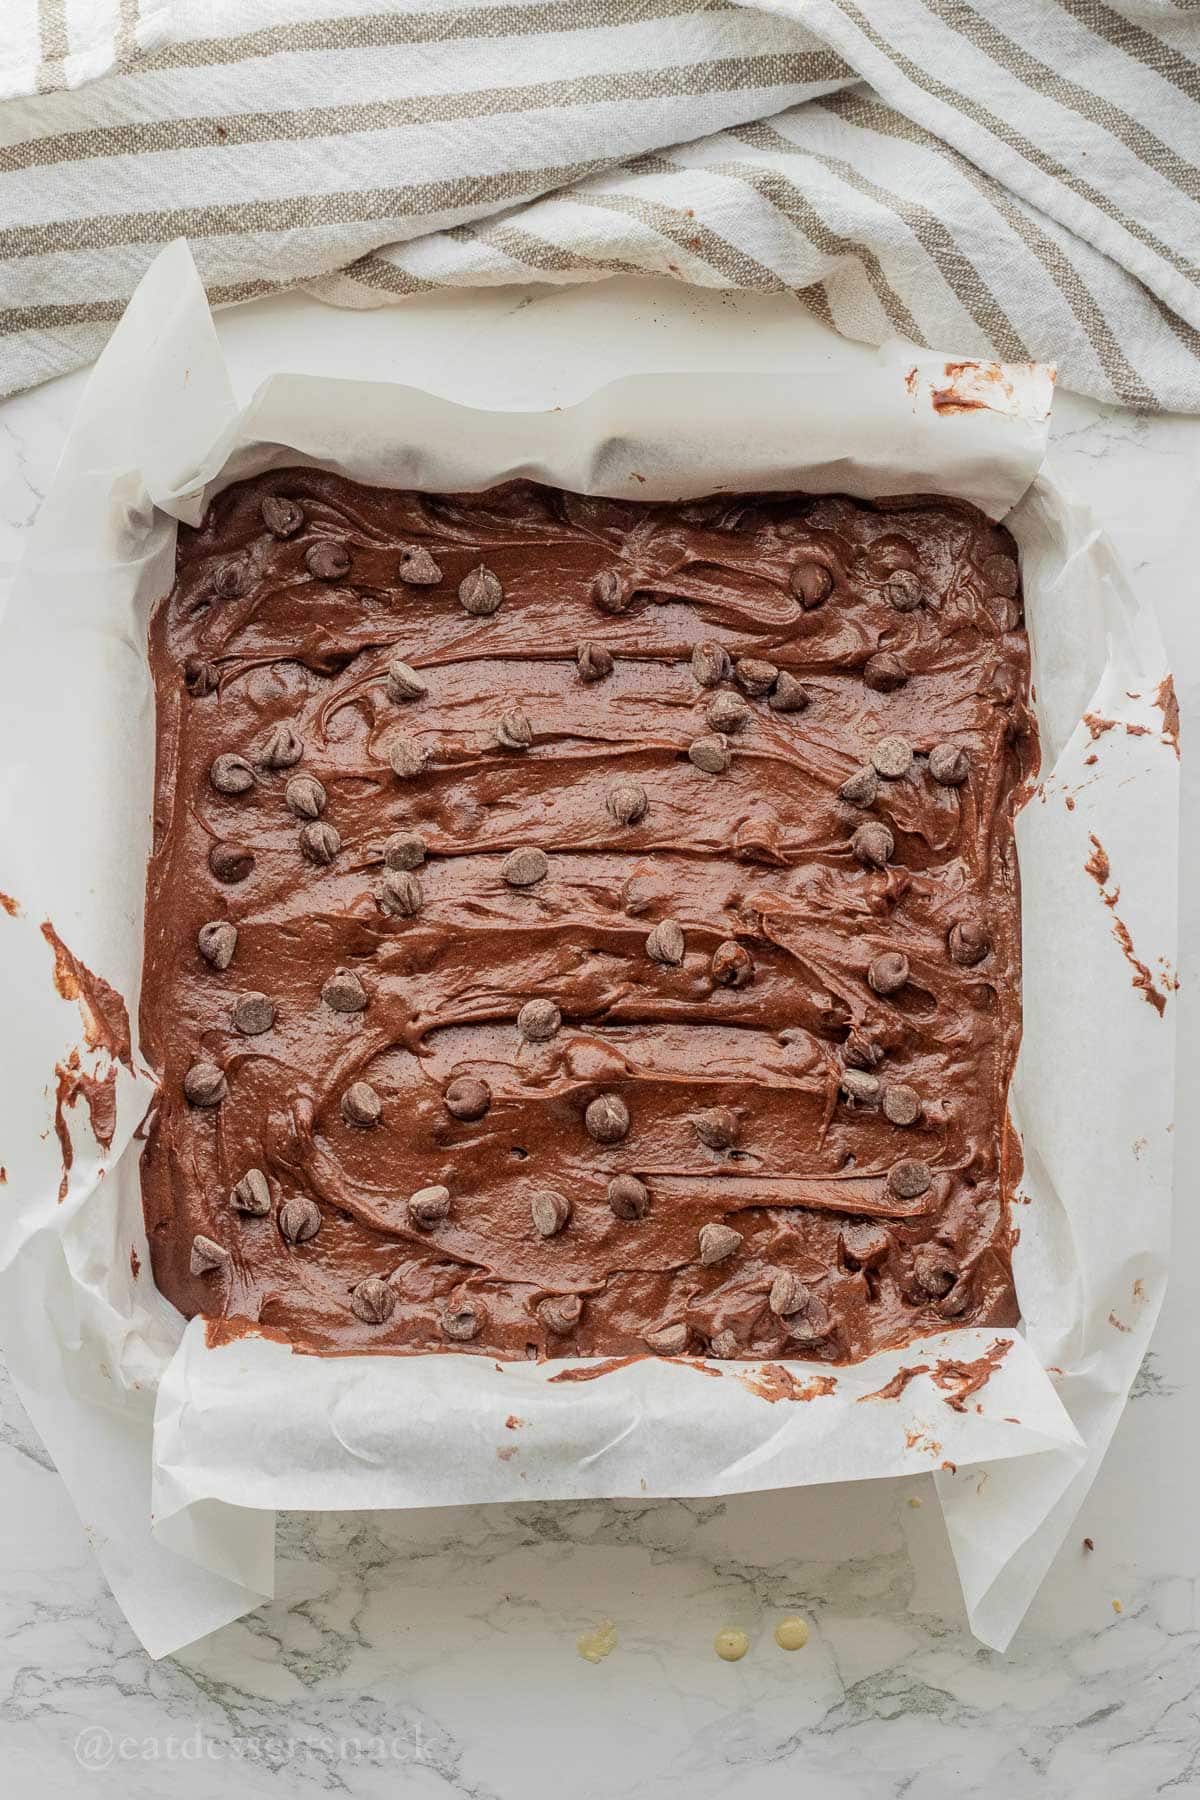
- Step 5. Fold in chocolate chips last. Transfer to prepared 9x9 inch baking pan and bake for 35-40 minutes until inserted knife comes out clean. Dark pans take less time than heavy ceramic pans or glass pans to bake. And keep in mind that if you use an 8x8 inch pan they will be thicker and take a few more minutes to bake as well. Let cool for 30 minutes before slicing for neater slices. Enjoy!
📌 Top Tips & Hacks
- "Bloom" the cocoa powder in the hot melted butter. It helps to release and intensify the flavor in the cocoa powder. It makes a difference!
- I use only eggs as the leavening agent. Any baking soda/powder will create a fluffier texture and structure more like cake.
- Weigh your ingredients! That way it's easier to get consistent results every time. I have used this kitchen scale for years and love it.
- Line your pan with parchment paper for easy cleanup!
❓Frequently Asked Questions
Nope. Don't do it. This recipe has just a little extra salt besides the salted butter, making the brownies perfect.
Yes! They add more flavor and richness to desserts, depending on the recipe. I LOVE sourdough discard desserts.
I would use a 9x13 inch pan, and bake for 50-55 minutes.
Room temperature: up to 3 days in an airtight container
Freeze: up to 3 months separating layers with parchment paper to prevent sticking.
🥣 More Easy Sourdough Discard Recipes


Did You Try This Recipe? ⭐️⭐️⭐️⭐️⭐️ Make sure to leave a star rating and a comment below the recipe card. I love hearing from you, and it is so helpful to other readers! Better yet, share it with family and friends. Thank you!!
📝 Printable Recipe
Sourdough Discard Brownies
Ingredients
Instructions
- Preheat oven to 350 ℉. Line 9x9 inch baking pan with parchment paper.
- In a small bowl or glass measuring cup, melt butter and mix in cocoa powder to let it "bloom". Set aside.¾ cup salted butter, melted, ¾ cup cocoa powder
- In a mixing bowl, combine white sugar, eggs, sourdough discard, and vanilla and mix for 2-3 minutes until white and sugar is dissolving. You can whisk or use an electric mixer.1 ½ cups white sugar, 2 eggs, ½ cup sourdough discard, unfed, 1½ teaspoons vanilla
- Add in the butter/cocoa powder mixture and mix well.
- Add in the flour and salt and mix well until all the flour pockets are gone.½ cup all purpose flour, ¼ teaspoon salt
- Fold in chocolate chips last.½ cup semi-sweet chocolate chips, plus extra to sprinkle on top
- Transfer to prepared 9x9 inch baking pan and bake for 35-40 minutes until inserted knife comes out clean. Let cool for 30 minutes before slicing for neater slices. Enjoy!
Notes
Nutrition

Hi, I'm Sara!
Registered Nurse by day, food blogger by weekend. Perfect dip tester & snack quester. I love short walks on the beach and long naps. Sharing my love for food, one bite at a time.

Comments
No Comments